Datasets
Properly preparing your data is essential to ensure accurate and reliable results. This includes understanding the content, structure, and expected format of your dataset. A few restrictions apply to guarantee that Studio interprets your data correctly.
Studio is designed to work with time-series data, so each dataset is treated as a time series by default. Timestamps must be unique within a dataset; if duplicates exist, Studio will use the first occurrence along with its corresponding observations and ignore any subsequent duplicates.
Dataset requirements
Uploaded datasets must be CSV files containing timestamped rows of data.
A dataset upload requires:
- A CSV file.
- A timestamp column.
- A timestamp format.
- At least one numeric data column.
- A dataset name.
- A dataset description.
- A sampling interval.
Timestamps are interpreted in UTC.
Sampling Rate
The sampling rate describes how frequently observations are recorded in a time-series dataset. The sampling interval is the time between two consecutive observations.
For example, if a dataset contains one row every 15 minutes, the sampling interval is 15 minutes.
Missing Data
Missing data refers to gaps or invalid values in a dataset where no usable measurement is available for a variable. This can happen because of incomplete records, formatting issues, corrupted values, or values that cannot be parsed correctly.
In practice, this can include:
- Empty cells (
"") - Strings such as
na,nan,n/a,missing, ornull - Non-numeric values in numeric columns
- Infinite values or values that cannot be parsed
Studio automatically detects and handles missing data so that models can still be built from incomplete datasets where possible.
Dataset Size
You can upload a file with up to 40,000 rows of data. Keeping your file below this limit helps ensure smooth processing and fast validation.
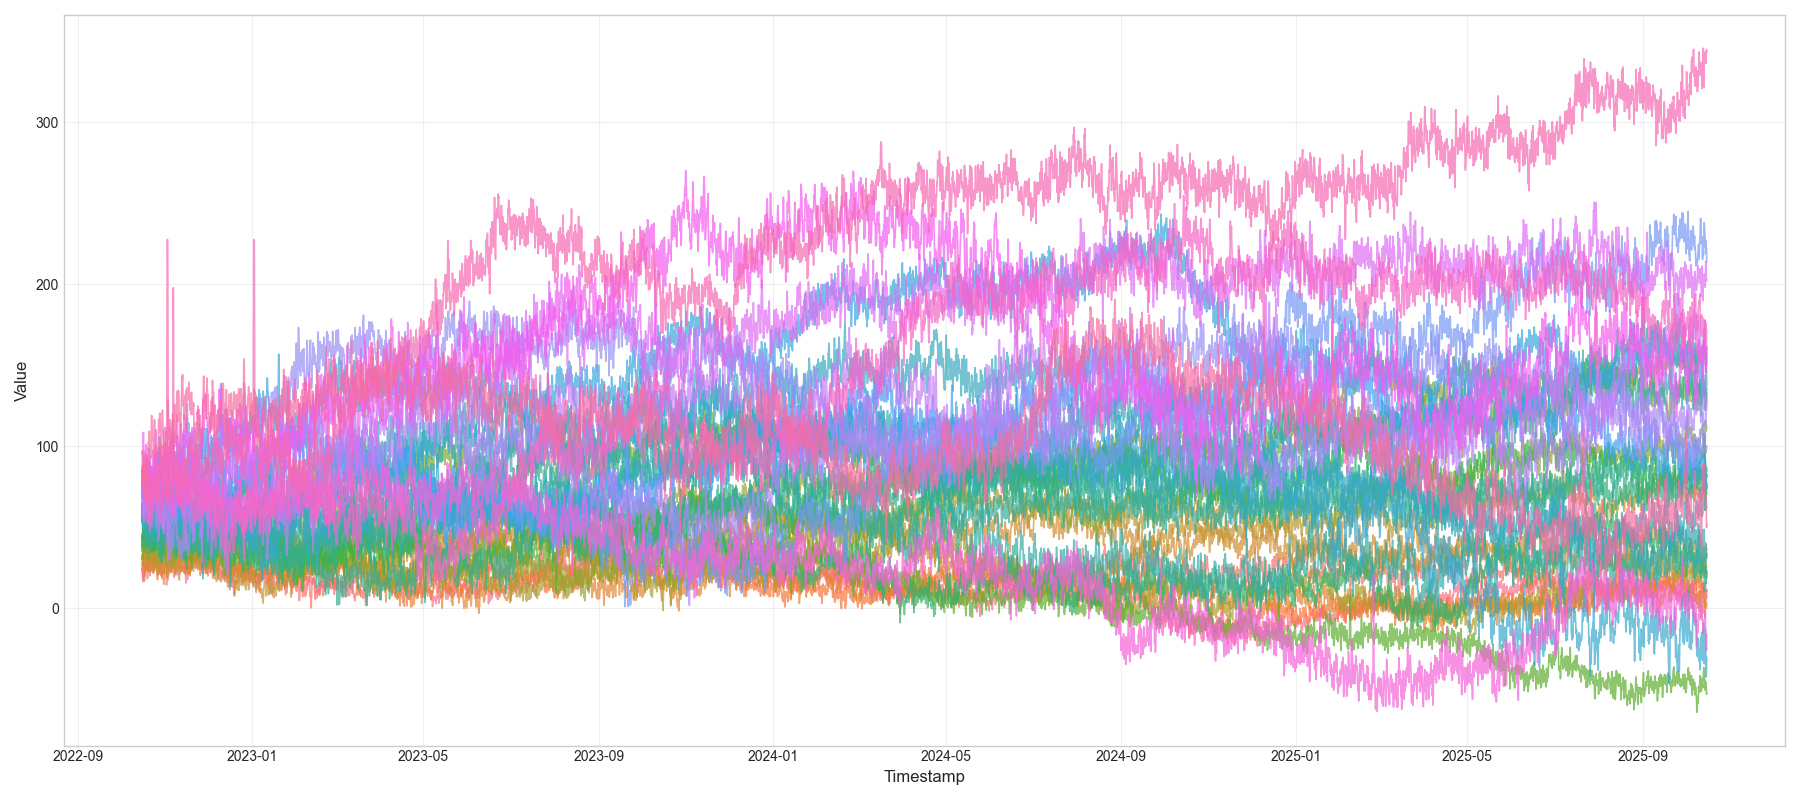
For many use cases, three years of hourly time-series data provides a strong balance between detail and practicality. This gives Studio enough history to identify daily, weekly, and annual patterns while keeping the dataset manageable.
For example, three years of hourly data includes more than 1,000 daily cycles, around 156 weekly cycles, and three annual cycles. This can help Studio distinguish recurring seasonal behaviour from random variation and identify year-on-year trends with greater confidence.
Expected Dataset Structure
The table below showcases the expected columns
Data Types
Studio supports numeric, categorical, and Boolean data types.
Numeric data contains values that can be measured or counted, such as temperature, pressure, demand, or the number of items sold.
Categorical data contains values that represent groups or categories, such as product type, location, status, or priority. Boolean values are a special type of categorical data with only two possible values, such as True / False0 / 1.
Adding a Dataset
To add a new dataset in Studio, open the Datasets page and select Add Dataset. This opens the Add Dataset popup.
Adding a dataset has two steps:
Upload File
Upload a file containing time-series data
Create Dataset
Once validated, configure and personalise this uploaded data
Upload File
To create a dataset in Studio, upload a supported CSV file containing time-series data. The file must include a timestamp column and at least 100 rows for Studio to validate the dataset.
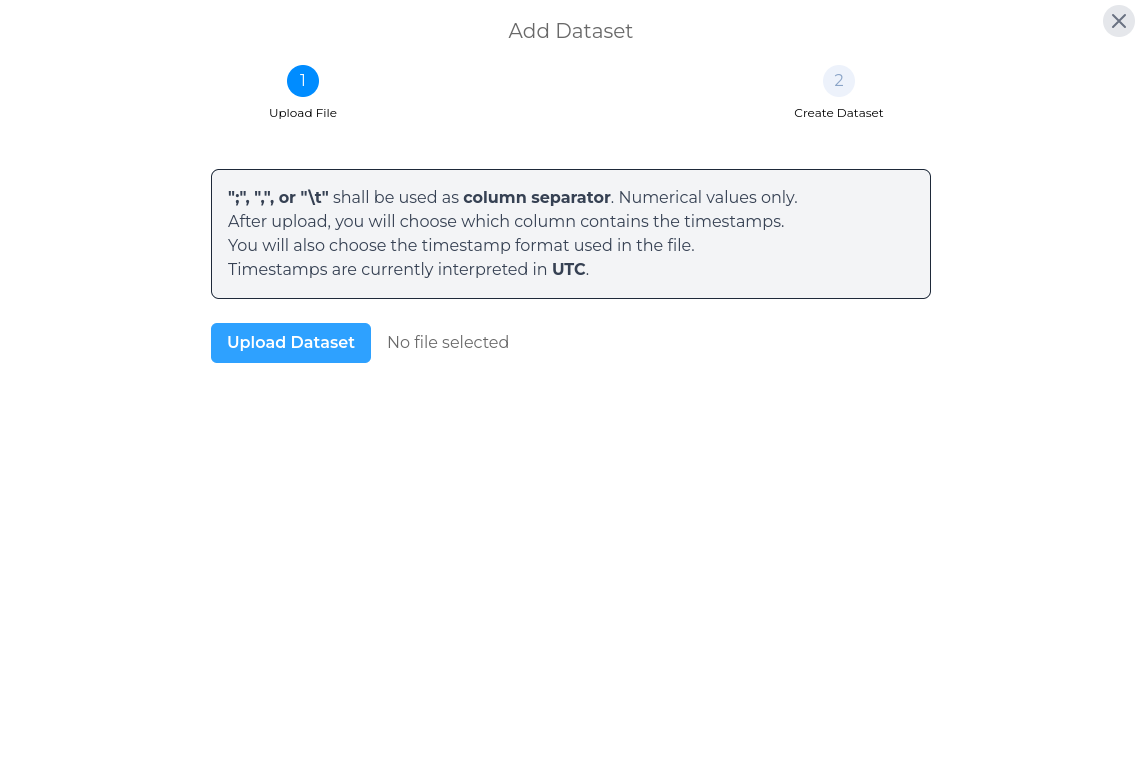
Once, you have selected and uploaded, it is validated. The initial validation process checks that uploaded files are correctly formatted and ready to be used in experiments. If any issues are found, the validation will highlight them so they can be fixed before continuing. Once the dataset passes these checks, the pop-up will automatically take you to the second step of the process - Create Dataset
Create Dataset
Once your uploaded file has been successfully validated, you can now name your dataset and add a brief description of your dataset. As a default, Studio will use the name of the uploaded file as the name of your dataset.
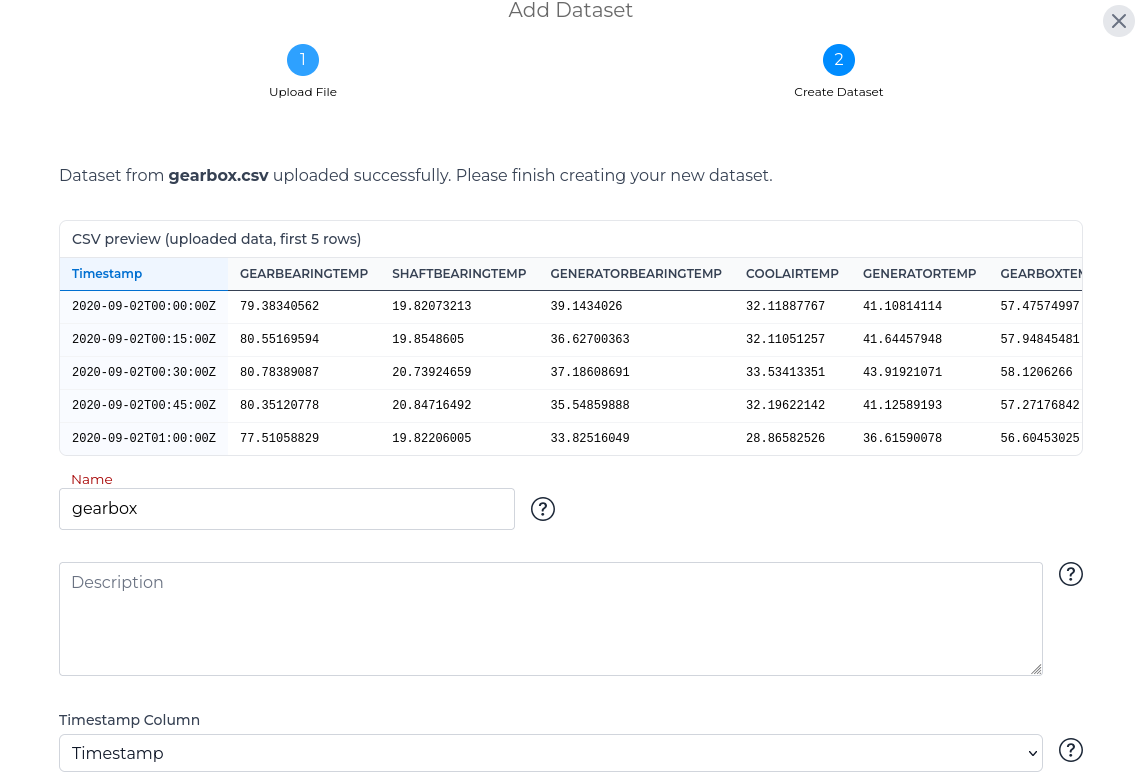
After entering a name and a description for your dataset, you then must select the name of the column in your dataset that contains the timestamps from a dropdown menu.

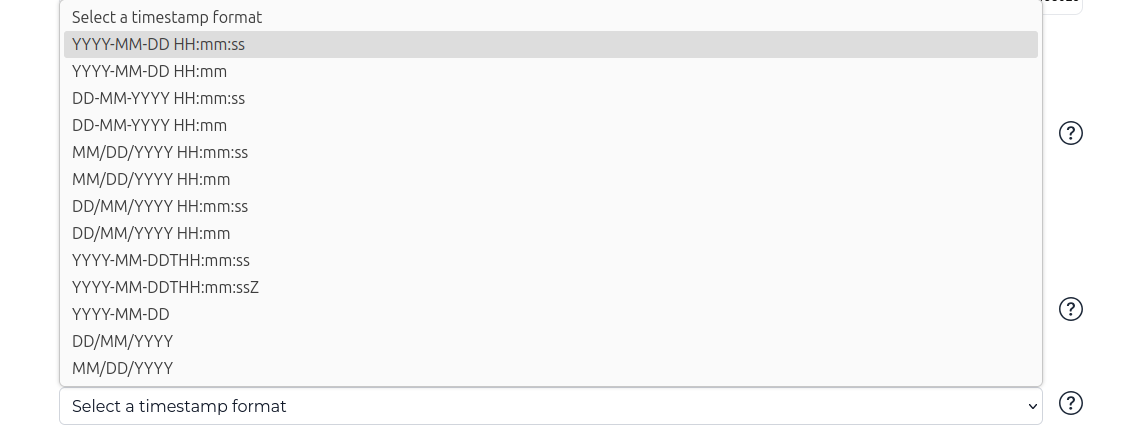
Once the timestamp column name has been selected, you then need to select the format that the timestamps are written in.
After selecting the timestamp format, enter the Sampling Interval for the dataset. Studio may be able to infer this value automatically from the uploaded file.
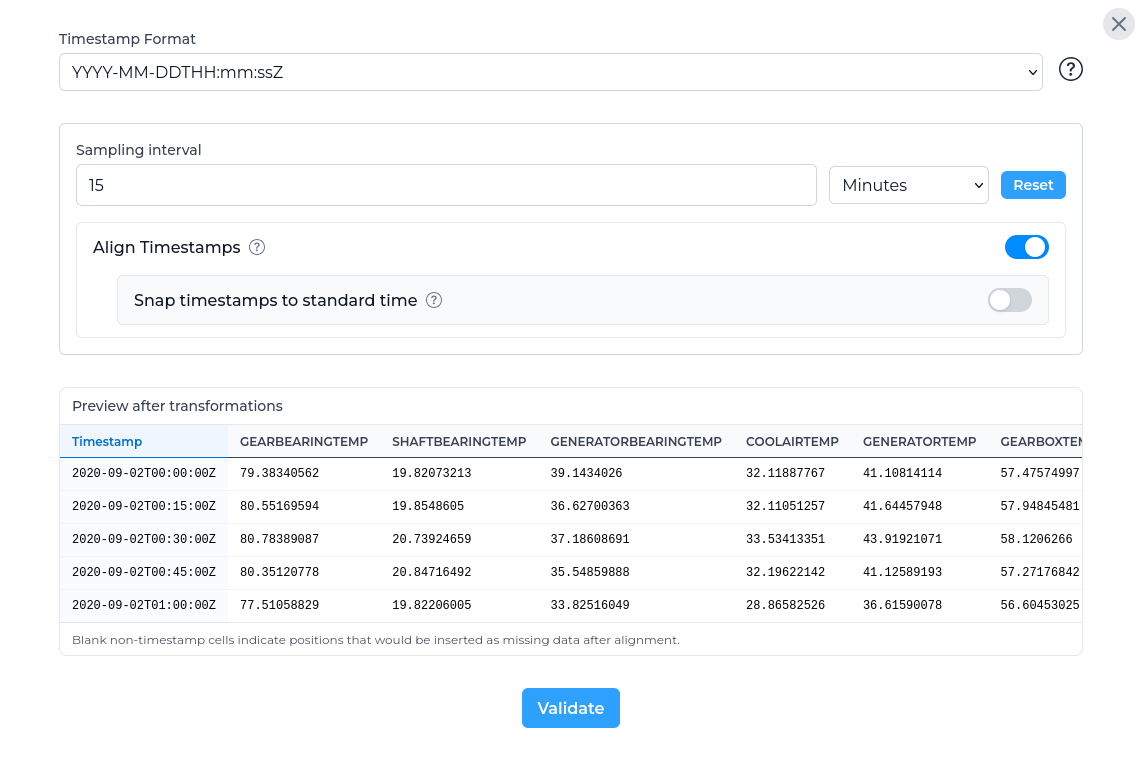
After entering the sampling interval, you can choose whether Studio should adjust the timestamps during validation.
-
Align Timestamps - When this toggle is checked the timestamps in this dataset will be aligned to the chosen interval to ensure regular spaces between samples. This option is enabled by default to support reliable model building, but it can be disabled if preserving the original timestamps is important for your dataset.
-
Snap timestamps to standard time - Where suitable, start the aligned series on a standard clock boundary such as the top of the hour. This can be useful for combining a dataset with other datasets. This option is disabled by default and requires Align Timestamps to be enabled.
Example: timestamp alignment
The table below shows how the timestamp options can affect a dataset with irregular timestamps when the selected sampling interval is 15 minutes.
Validation
After configuring the dataset, select Validate before submitting. Validation checks the dataset for critical errors that would prevent it from being submitted.
If critical errors are found, Studio will show the issue so it can be corrected before continuing.

If there are no critical errors, Studio may still show warnings. Warnings indicate that the dataset can be submitted, but some rows or timestamps may be adjusted during processing.

You can view more information about each warning and export a CSV file containing the affected rows.

Exported Warnings CSV:

Once the dataset has been validated, you can submit the dataset.
Updating a Dataset
Any dataset that has previously been uploaded into Studio can be updated with new values. This may occur when new data becomes available or when existing values need to be corrected. Updates are always based on the Timestamp column, ensuring that new or modified records are correctly aligned with your existing dataset.
How to Update a Dataset
Update Dataset
In the Datasets table, click the update icon for the dataset you wish to modify. This opens the Update Dataset popup.
Upload New Dataset
Updating a dataset follows a process similar to adding a new dataset:
-
Upload a supported file containing the updated data.
-
The system validates the file to ensure it matches the existing dataset structure.
-
Once validated, the new data can be added to the dataset.
When adding new data, only timestamps after the end of the previously uploaded dataset are appended. This means the uploaded file can have a different filename or start immediately after the last timestamp in the existing dataset - it will still be successfully integrated. The illustration below demonstrates how new data is merged with an existing dataset:
Deleting a Dataset
To delete a dataset, select the delete button in the relevant row of the datasets table. Studio will show a confirmation popup before the dataset is removed.
Troubleshooting common validation issues
The timestamp column is missing
Check that the selected timestamp column exists in the uploaded CSV and that the header row is present.
Timestamp values are invalid
Check that the selected timestamp format matches the values in the file.
Duplicate timestamps are detected
Each timestamp should identify a single row in the dataset. If multiple rows use the same timestamp, correct the source file before uploading.
No numeric columns are found
Uploaded datasets need at least one numeric data column. Check that numeric values are not stored as text with unsupported characters.
Sampling is irregular
Check whether the file has missing timestamp positions, unexpected gaps, or timestamps that do not match the selected sampling interval. You can use timestamp alignment to preview how Studio would regularise the time index.
Missing rows are inserted during alignment
If alignment inserts many blank rows, review the timestamp range and sampling interval. The selected interval may be too small, or the source file may have large gaps.
Things to check before uploading
Before uploading a dataset, check that:
- The file is saved as CSV.
- The first row contains column names.
- One column contains timestamps.
- Timestamp values use a consistent format.
- Timestamps are in UTC.
- Data columns contain numeric values.
- The sampling interval is appropriate for the data.
- The file does not contain duplicate timestamps.